

03 Sep DIY American Flag Helpful Hints
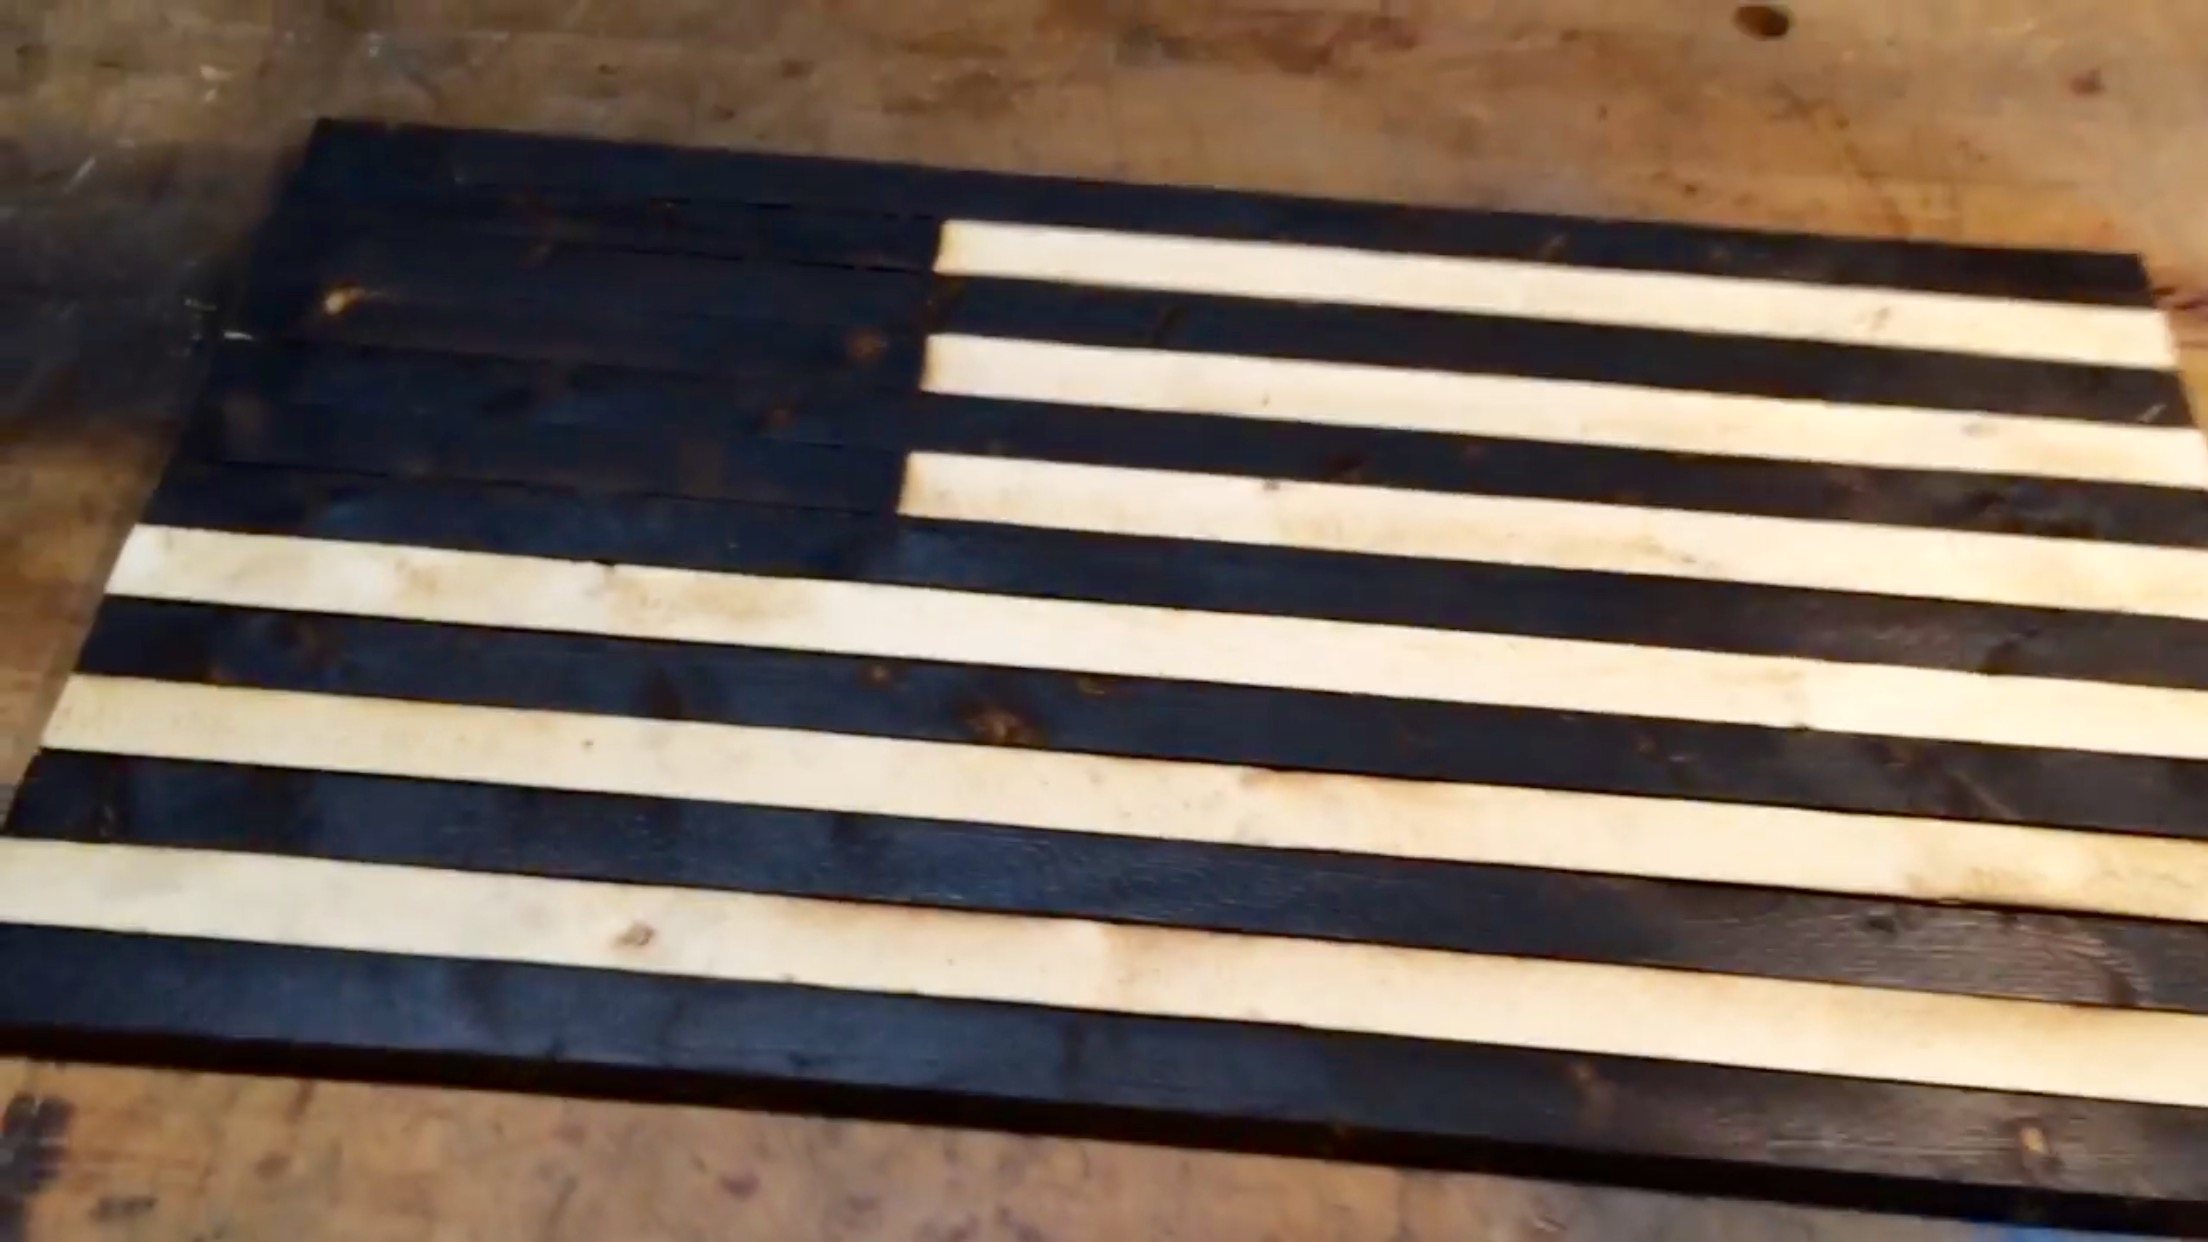
DIY Wooden American Flag Helpful Hints
Here are a few things that I’ve learned since I started making the flags.
After you have torched the front of the flag, flip the flag over, face down. Before you put the flag together by attaching the strips to the back, use the torch to lightly tint the wood on the back side. My wife suggested this because the back of the flags that I was making were just bare wood and kinda plain. Adding a little color with the torch made a big difference in the way the finished product looked.
I also started using the torch to scorch the edges of each of the boards before putting them all together. Adding a little color to the edges helps to hide them in cases where some of the boards are thicker than others. If you don’t scorch the edges and the edges are exposed, they will stand out due to the exposed bare wood.
When preparing to attach the strips to the back, the flag needs to be square. You can use a framing square to square the flag. I have also attached two boards to my work table to form a square, doing this made this process a lot faster and easier.
These are just a few steps that have improved the look and the process of making the flags.
Thank you for visiting www.thefurrminator.com
Jeff Furr