

04 Sep Rustic American Ribbon Awareness Flag/ DIY
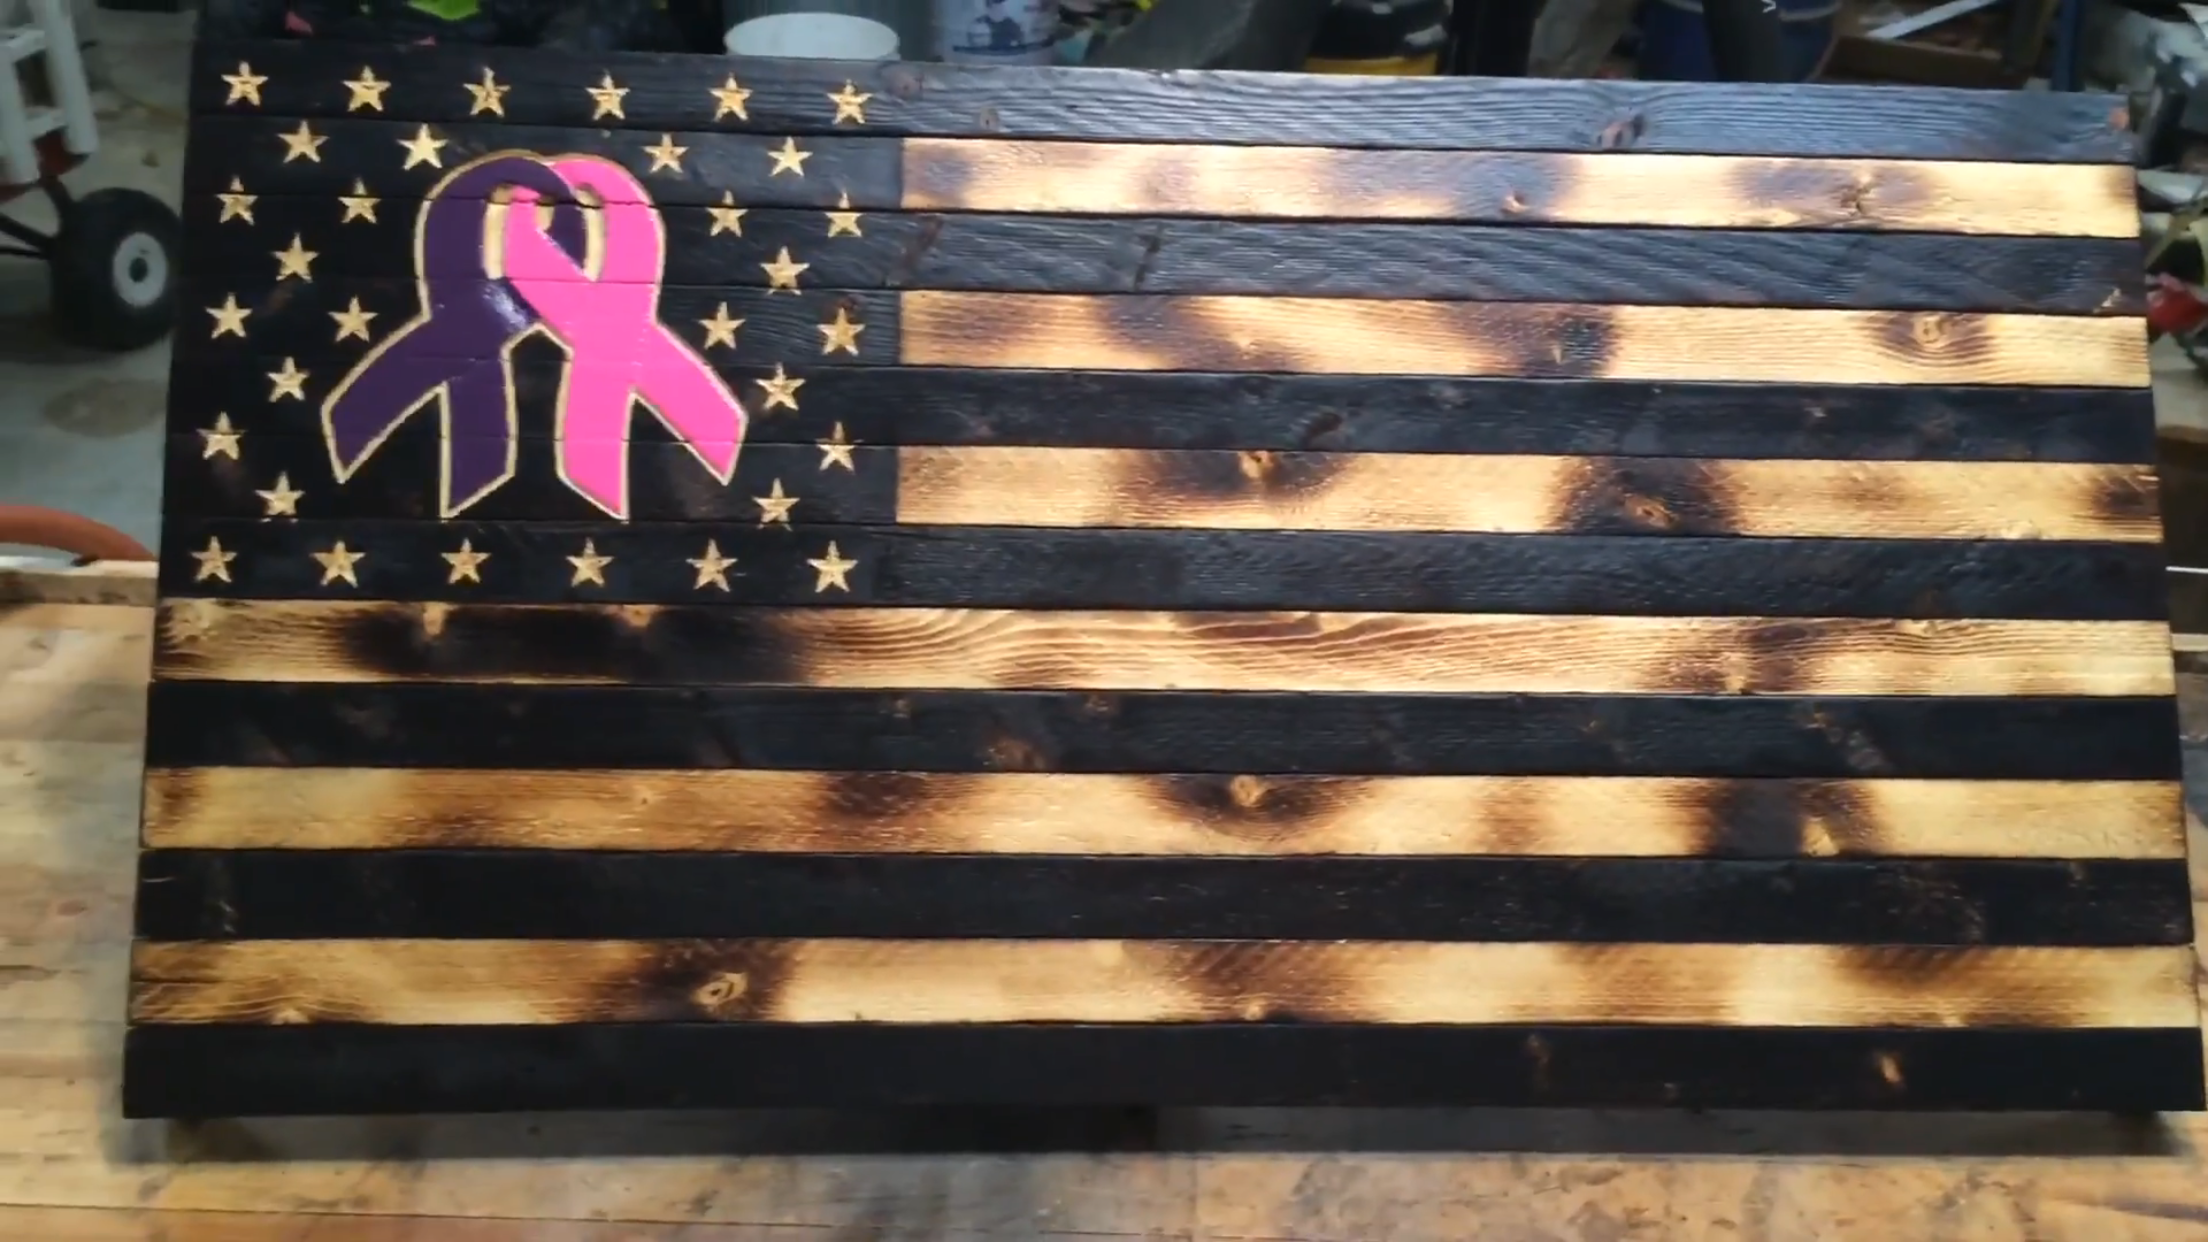
This is the 13” x 24.5” flag. This was a special order from a lady that had lost her father to Alzheimer’s and her mother to Cancer. She said that she was wanting a flag that had both purple and pink, possibly a pink line and a purple line. After giving it lots of thought, I decided to incorporate two ribbons, one pink and one purple and since they were representing her parents I made the ribbons intertwined.
Once I decided how I wanted to make the flag, I first had to make a template. I found a ribbon online, printed it to the desired size and traced it onto a blank piece of paper. I had to play around with the drawing until I had the two ribbons centered and angled just right. I then added the stars around the ribbons, just like on the Marine flag.
After making the template, I was able to use it to lay over the union on the flag, place a piece of carbon paper under it and trace it onto the wood. After tracing the ribbons and stars onto the wood, I started following the lines on the ribbons with a #106 carving bit on my Dremel tool. When carving the ribbons, I carved a little deeper on parts where the ribbons crossed, giving it a 3D or layered look, making it look like they were overlapping each other. When carving the deeper and wider parts, I switched to a #107 carving bit since it is a more aggressive carving bit. When using the more aggressive bit, it helps to use my weak hand to steady and help keep control while carving.
After carving the ribbons, I carved all of the stars around the ribbons. I then used the torch to scorch the outer edges of the flag and to lightly tint or antique the stripes that had not been previously scorched and also the stars. I also scorched an area on the back so I could sign and number the flag.
After all of the carving and scorching was completed, I started painting the ribbons. I used Apple Barrel brand, Indoor / Outdoor Gloss Acrylic Paint, Purple Velvet and Pure Pink. It took several thin coats to get good coverage and this paint is quick drying and provides easy clean up.
I allowed the paint to dry overnight and then I sprayed the flag with two coats of Rust-Oleum Satin Clear Enamel. After the flag was dry, I added a hanger to the back and shipped it out.
This was a fun yet challenging project and after this project I realized that you can do almost any type flag to represent most anything you choose.
Thank you for visiting www.thefurrminator.com
Jeff Furr